It is very important for email senders to understand their on-going sending reputation, so that they can control & adjust their email sending practices regularly.
This is where, Google Postmaster Tools aka GPT comes in and becomes your saviour before its too late for you to understand consequences of bad email sending activity. This amazing free tool by Google will surely help you focus on good email sending activity.
We have created an easy guide, to help you setup your Google Postmaster Tools account & domain in that.
Quick Note: If your domain is new or you’re sending just few emails daily, then you won’t see any data/reputation. Also, sometime data in Google Postmaster Tools doesn’t get updated on daily basis, it can take 2-3 days to populate data and then show for all days. So you don’t have to worry in such cases!
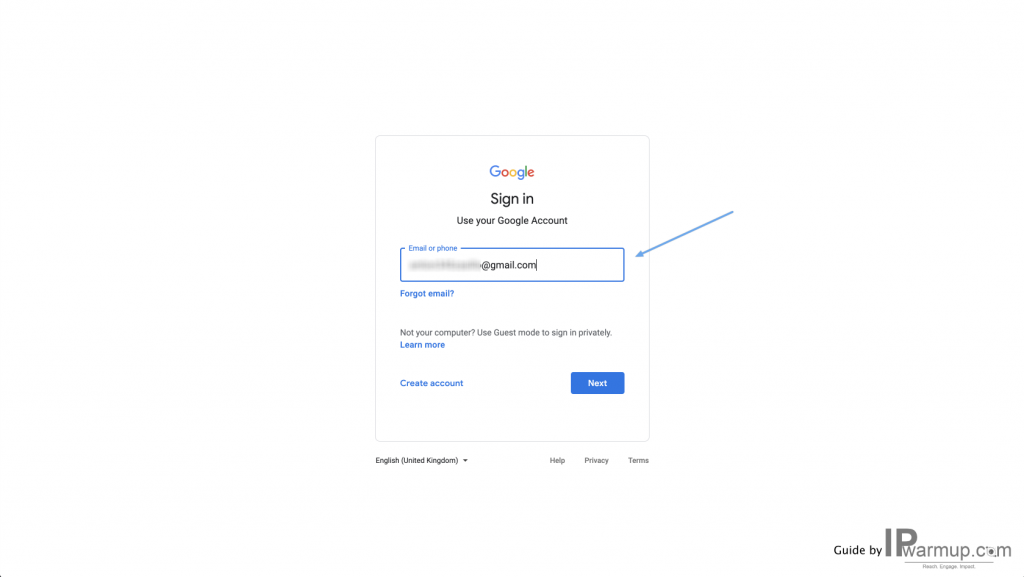
Step 1: Visit & login to https://postmaster.google.com with your Gmail or G Suite account
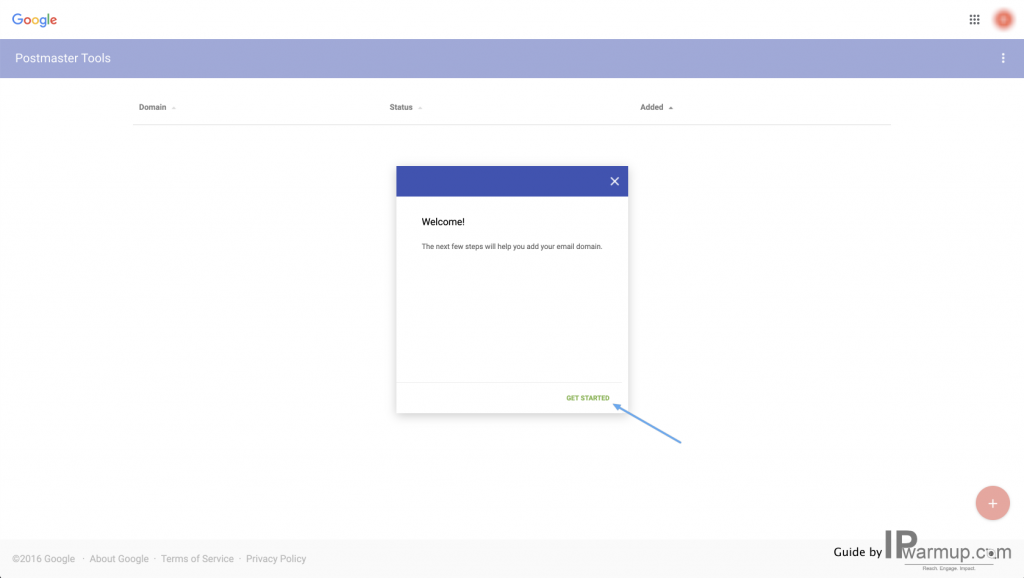
Step 2: After you’re successfully logged in, click on Get Started button
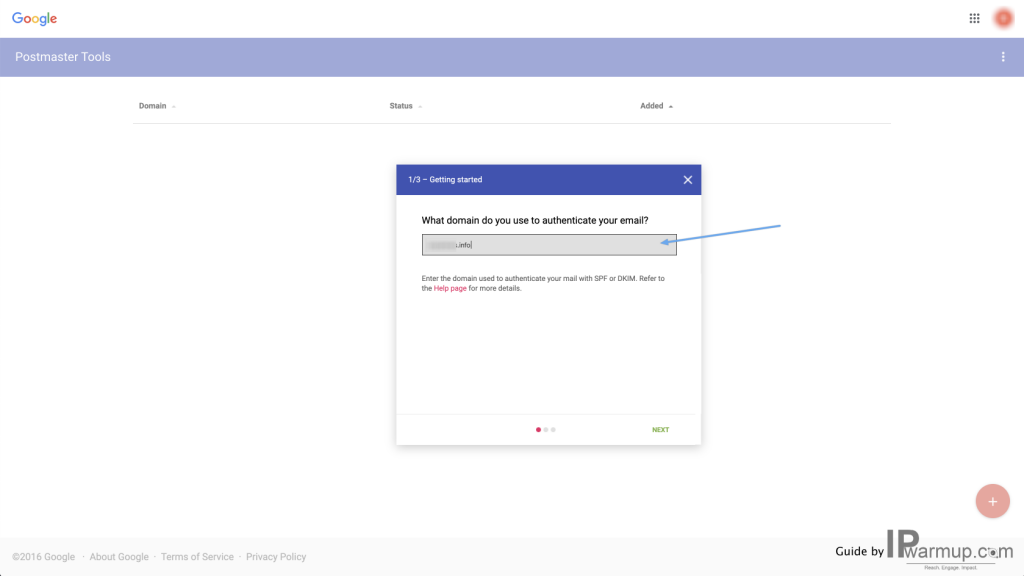
Step 3: In empty field, enter you Domain Name & click on Next button
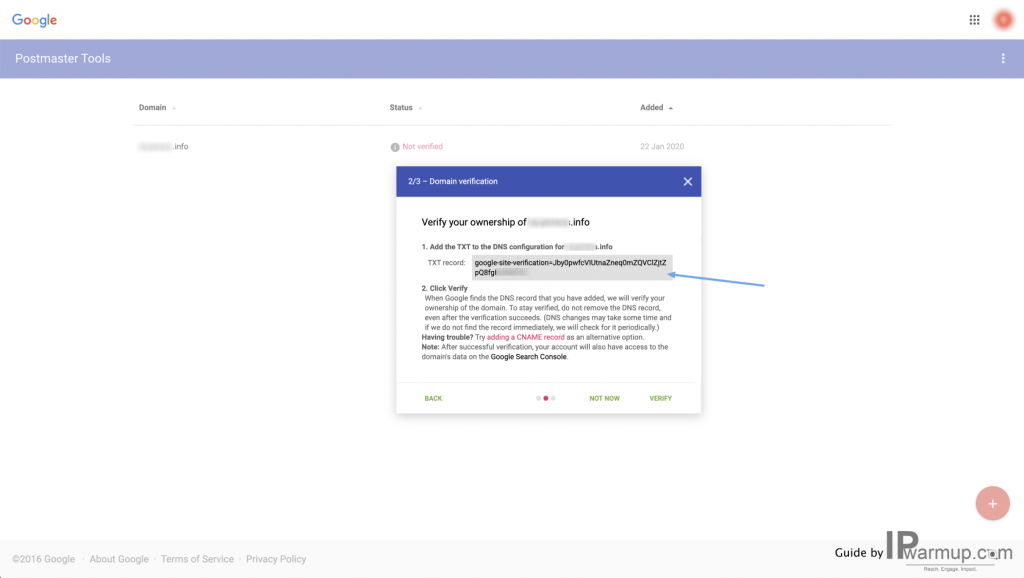
Step 4: After that, you’ll see a DNS record to verify ownership of your domain. Copy that whole DNS record
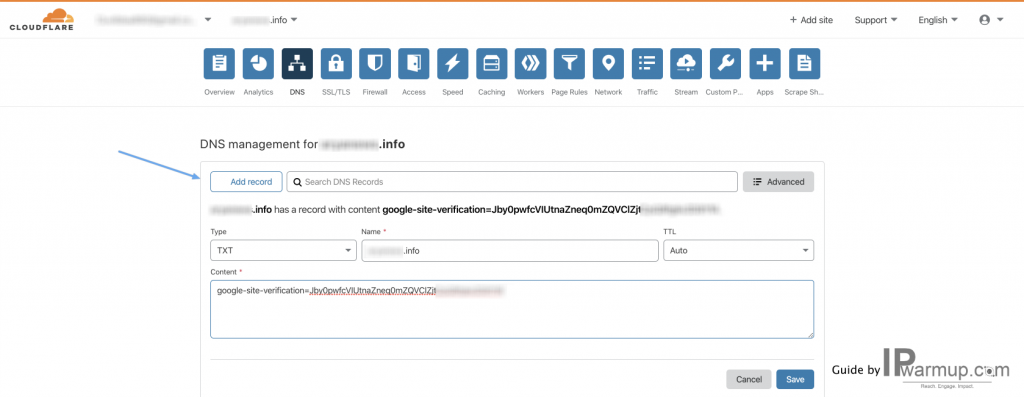
Step 5: Go to your DNS manager such as CloudFlare, Domain Registrar, etc. and a TXT record provided by Google Postmaster Tools
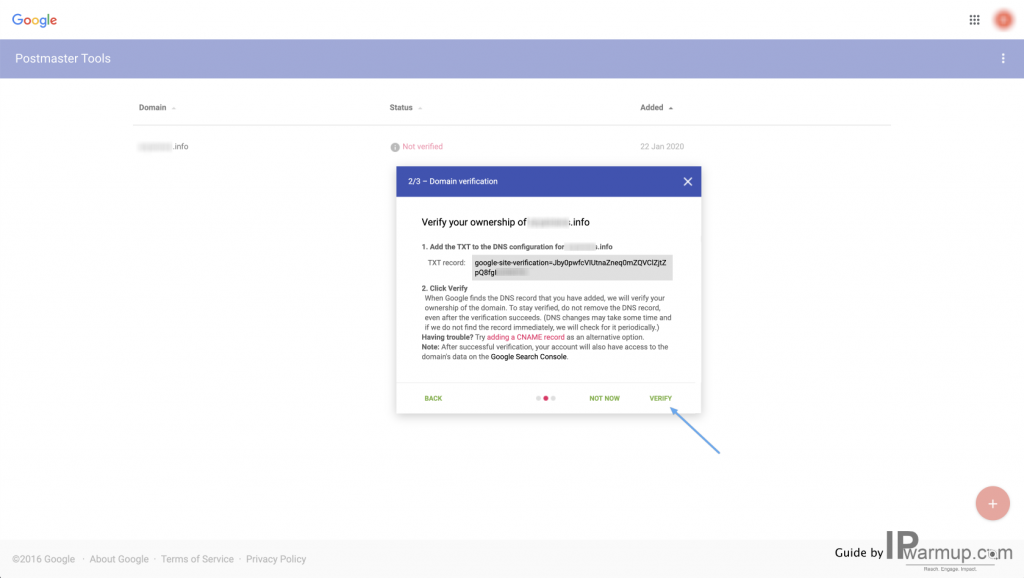
Step 6: Once TXT record is successfully added in your DNS manager, wait for few minutes. After that, go back to Google Postmaster Tools and click on Verify button
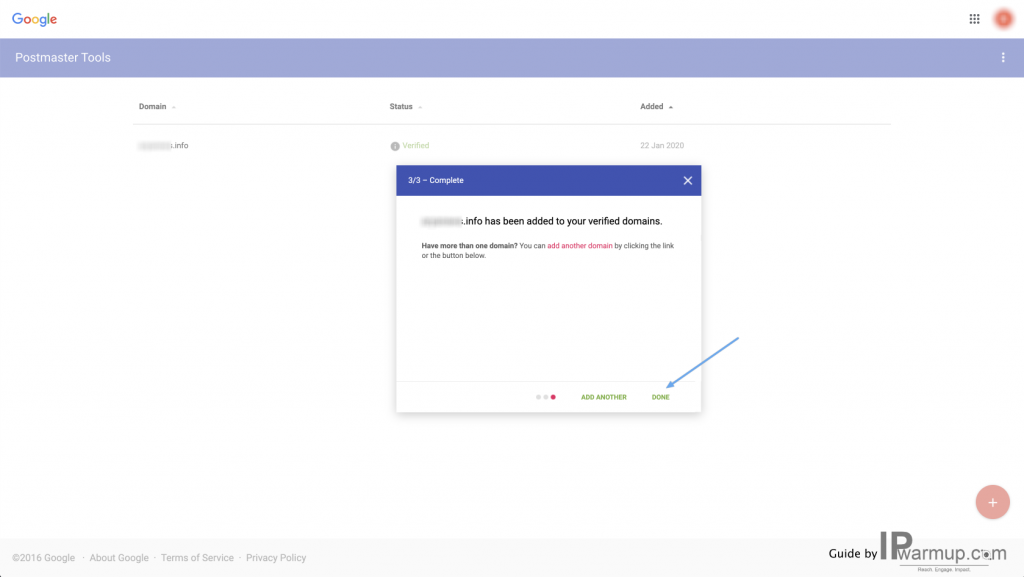
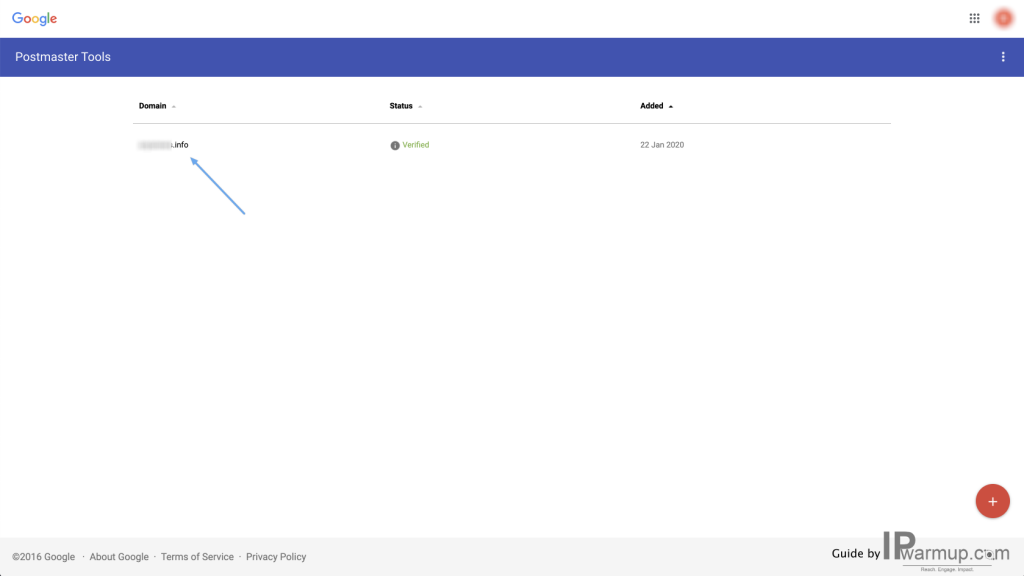
Step 7: Once, it show’s that your domain has been added to your verified domains. You can use all functionalities of Google Postmaster Tools, to do the same click on Done button
Step 8: Click on domain name for which you want to see email sending data
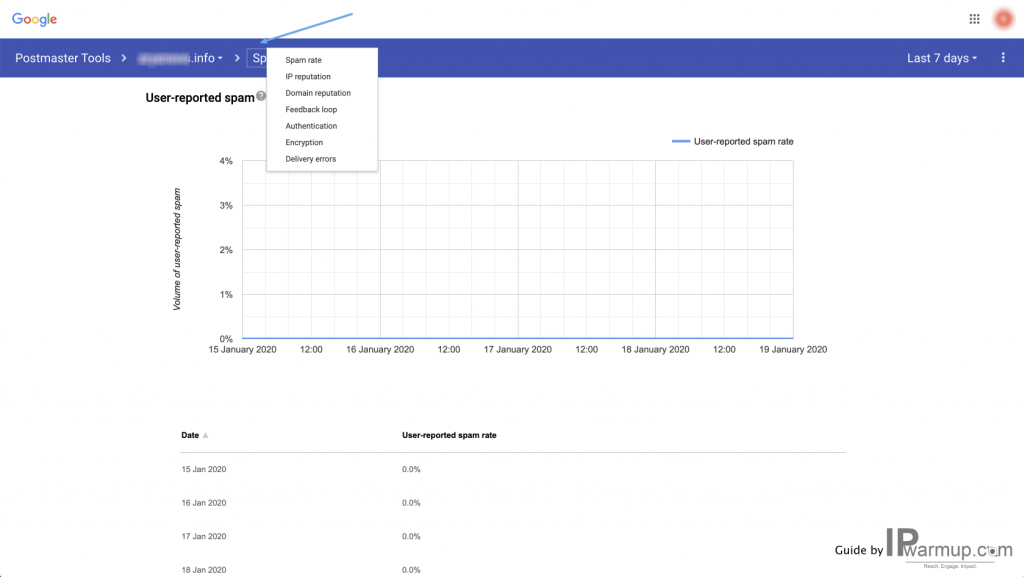
Step 9: By default, it will redirect you to Spam Complaints section. But keep in mind this section is under BETA mode and doesn’t show actual or even relevant number of spam complaints you’re actually generating. In some cases it is also seen that even with 1000+ spam complaints with 3,000 (3k) email delivery, it shows them as 1-2%.
You can click on menu on top and move to IP Reputation section.
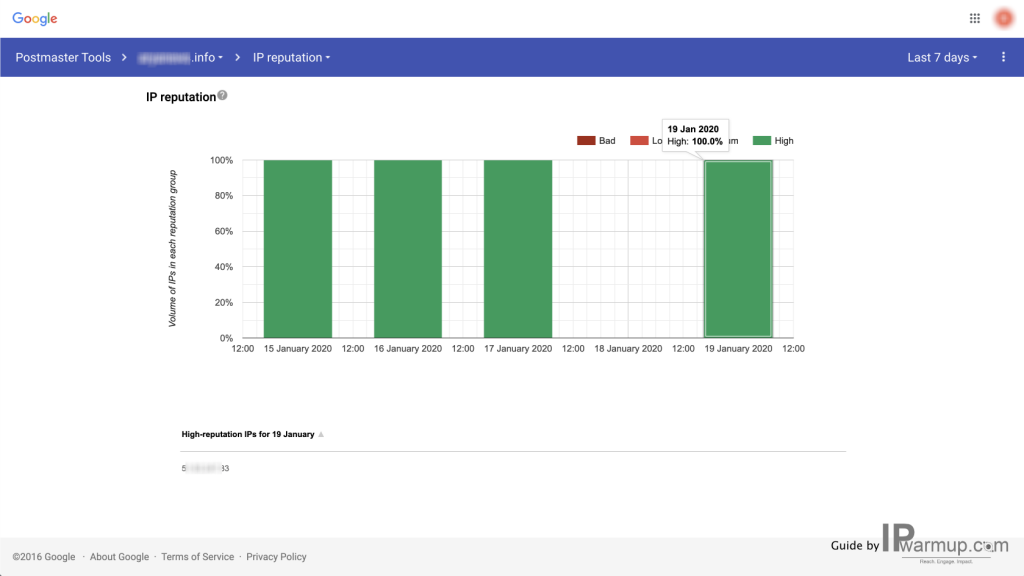
Step 10: With IP reputation section, you’ll be able to see reputation for all IPs delivering emails on behalf of your domain. To see which IP is sending emails & contains specific reputation, you can click on bar/graph for a particular day.
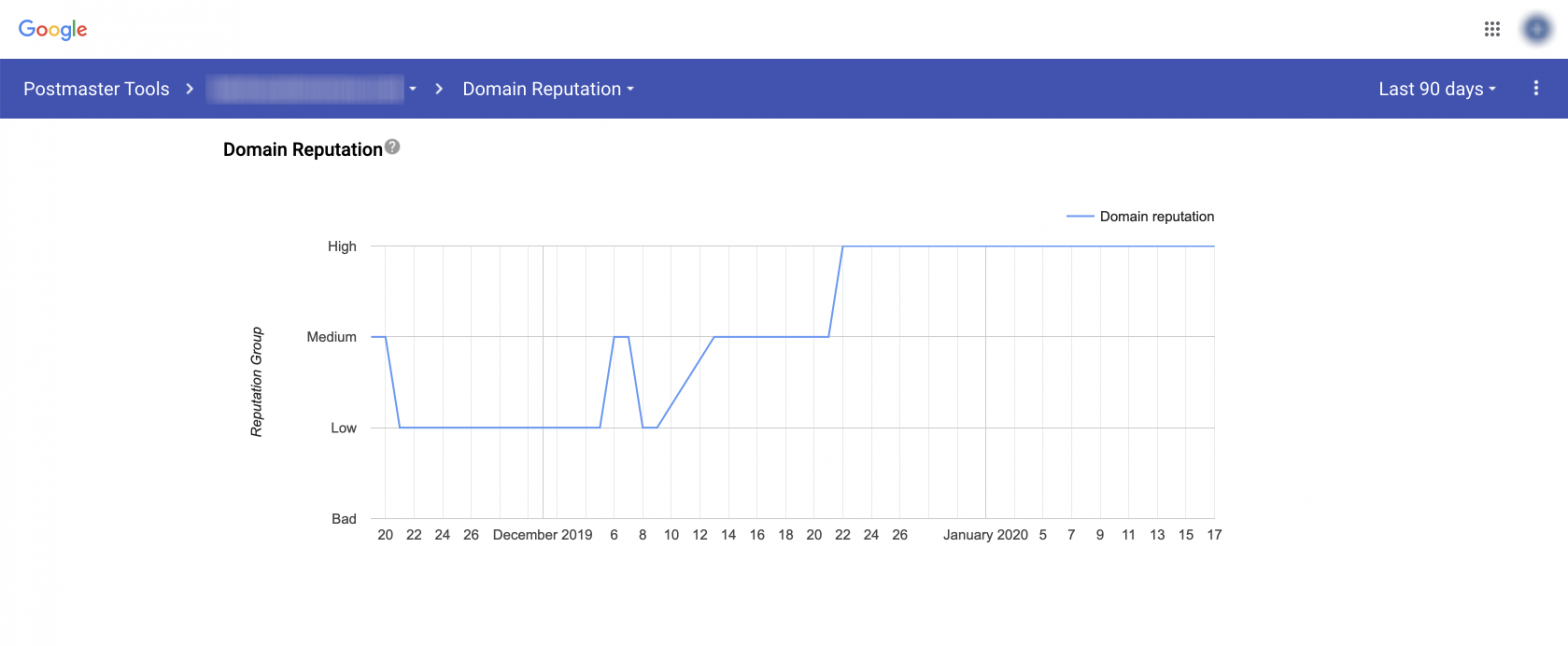
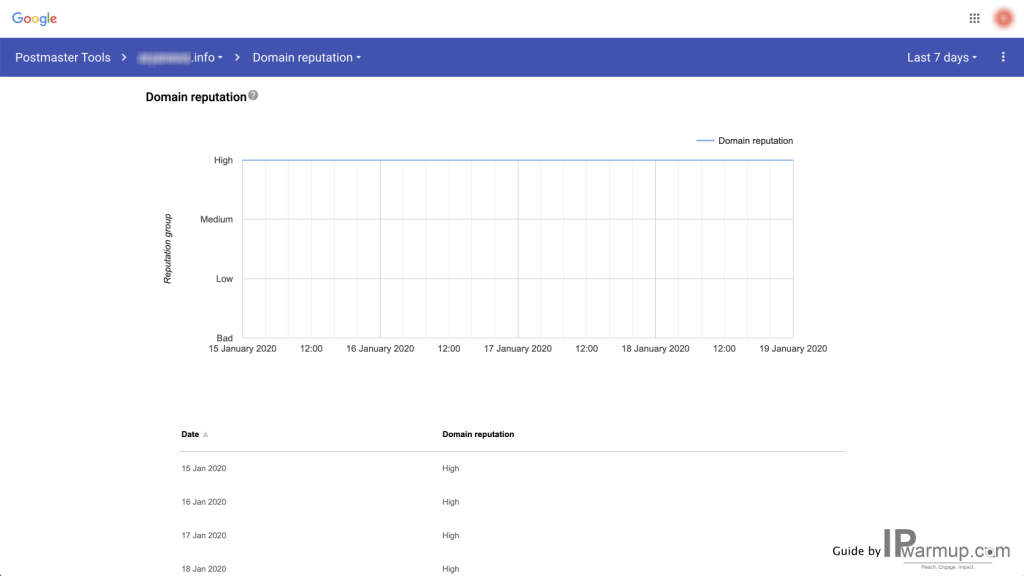
Step 11: You can now move to Domain reputation section, which very simple to understand.
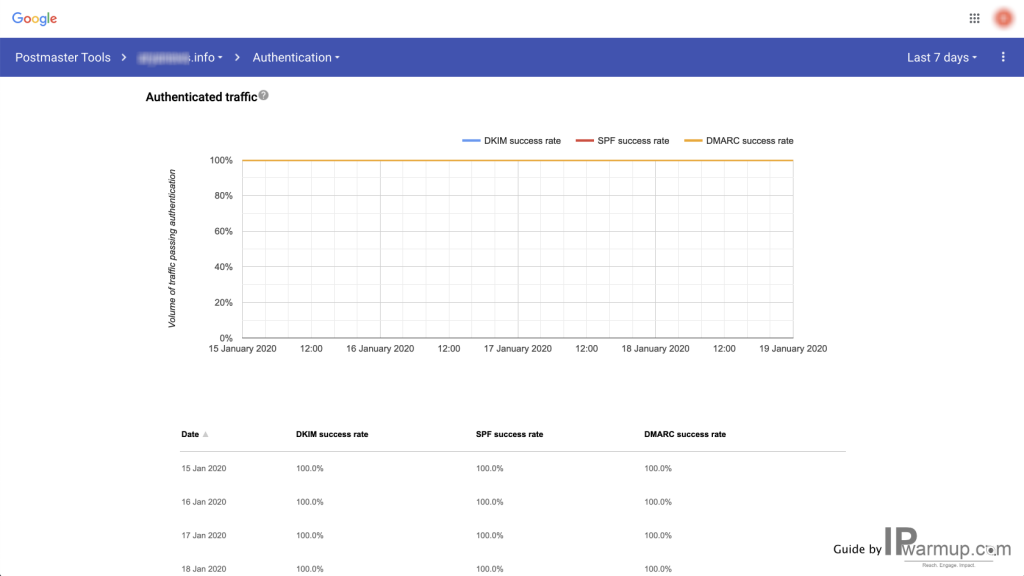
Step 12: This Authentication section is also very important, because for better email deliverability it is must that your emails are good with SPF, DKIM, DMARC. So make sure it is always 100%.
If you have any question, feedback or experience which you want to share, please comment that following!
Sponsored by:

Our SPF record is showing 0% in Google Postmaster but in all other verification checkers it appears to be in place. Any idea how to troubleshoot or address this?
Dear Raechel,
Have you tried to confirm authentication (SPF, DKIM, DMARC, RDNS) by sending test email on mail-tester.com? If so is that still failing?
Thanks